Project 2: Barrel Bouncer VR Edition
Part 3: Movement in VR
In class, we discussed the challenges of implementing movement in VR, specifically in regards to the user’s experience. Smooth and gradual changes in acceleration and rotation, such as that from your project 1 player controller implementation, are a great way to control movement in games and simulations designed for 2D screens. However, such forced movement can cause motion sickness when a user is in an immersive VR experience, since there is a mismatch between what their eyes perceive and the signals that their brain is receiving from the rest of their body. As a result, various other methods of controlling movement were devised. Two in particular (snap rotation and teleportation) are particularly great for beginner VR experiences, as they enable quick, nearly instantenous movements that place you into a new position without giving your brain enough time to realize that something doesn’t feel right.
Example Scene
The Oculus Sample Framework we described in part 1 provides a sample scene called “Locomotion” with an example implementation of the teleportation and snap rotation functionalities. The scene can be found in the following folder: Assets -> Oculus -> SampleFramework -> Usage. It may be useful for you to reference as you work on this section. The documentation that explains how the scene works can be found here.
Basic Setup
The components that enable snap rotation and teleportation make use of a Capsule Collider and a Rigidbody attached to the player, and thus they will not work without these components. Go ahead and add them to your OVRCameraRig, since that is representing your player.
There are a few properties we will want to change for each of these:
- Change the size of the capsule collider to make it really small, for example with a height of 0.02 and a radius of 0.01. For some reason, the OVR Camera Rig and teleportation system seem to create an unnecessary offset on top of this collider, which means that if your capsule has a height of 1, your feet will end up being 1 meter above the environment, which detracts from the realistic immersion. Additionally, you really only need this capsule collider so that the systems can detect collisions with the ground anyway.
- Unselect the Rigidbody’s Use Gravity property. You don’t want the player to free fall if they somehow end up off the edge of your environment, as this sudden unexpected downward acceleration can cause severe motion sickness.
- Under the Rigidbody’s Constraints, select all the options to freeze the GameObject’s position and rotation. You don’t want the capsule to topple over or unnaturally tilt the user’s view. Additionally, the teleportation and snap rotation systems have their own way of modifying the user’s position and rotation which you don’t want to interfere with.
Snap Rotations
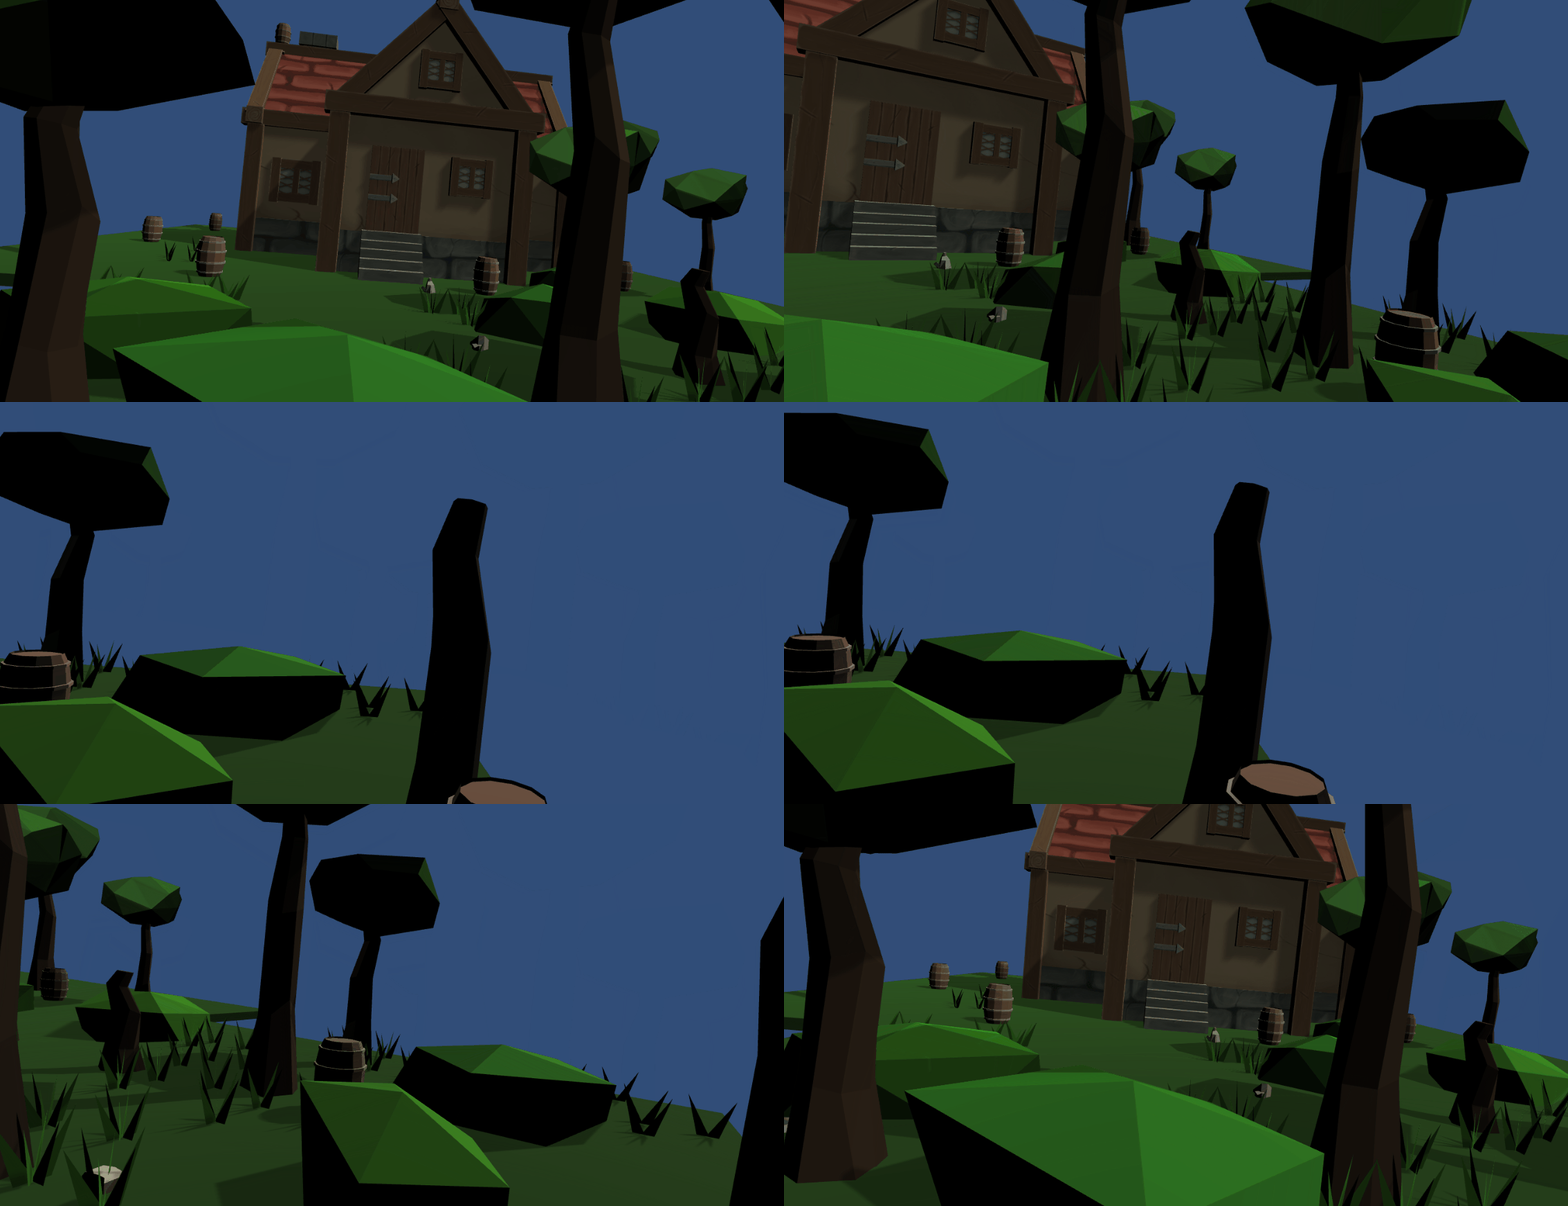
In this subsection, you will add in the snap rotation functionality, depicted below:

Start off by adding the Simple Capsule With Stick Movement script from the Oculus Integration onto your OVRCameraRig. This script defines some basic player controller functionality that allows the user to:
- use the thumbsticks to move the player forward, backwards, left, and right.
- apply quick left and right presses on the thumbsticks to snap rotate the direction of the player by the specified angle.
Since we’ve already discussed why the first functionality can be unnatural and sickening, we will disable this functionality and only make use of the script’s second functionality. Go ahead and change the following properties of the Simple Capsule With Stick Movement as described below:
- Unselect the Enable Linear Movement property.
- Keep the Enable Rotation property checked.
- Unselect the HMD Rotates Player property. This causes your player GameObject (in this case the OVRCameraRig) itself to handle the y-axis rotations as you turn your head around, while the cameras on the eyes rotate on the other axes (similar to some of your project 1 player controller implementations). However, this may cause the bucket to rotate around the OVRCameraRig’s pivot unnaturally as you move your head (since it is also one of its child GameObjects), especially if you are standing at an offset or are moving around your space. As a result, we just want the Cameras in the tracking space to be affected by the headset movement.
- Select the Rotation Either Thumbstick property. This will allow you to use both the left and right touch controllers for snap rotation functionality.
- Change the Rotation Angle to 30 degrees.
- Drag in the reference to your OVRCameraRig.
Teleportation
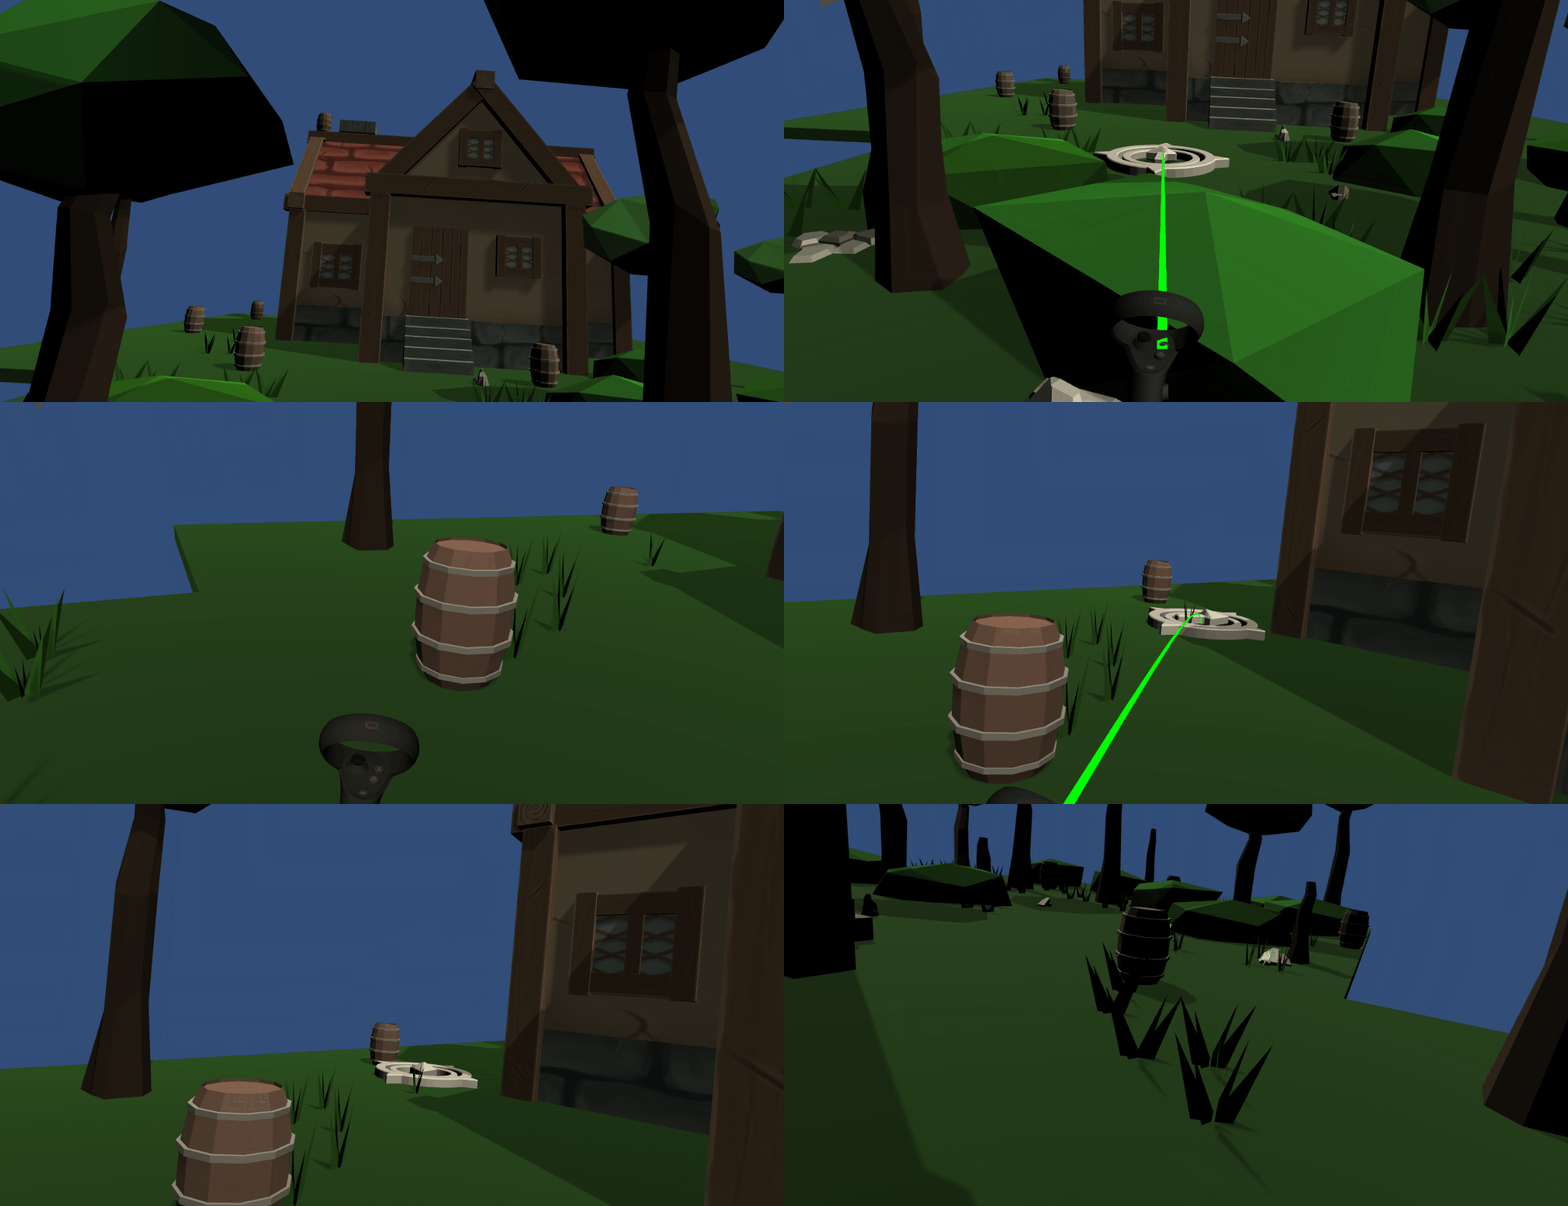
In this subsection, you will add in the teleportation functionality, depicted below:

Obtaining the Locomotion Controller
The Oculus Integration defines numerous scripts related to teleportation that all work together. Rather than having you add each of them individually onto a new GameObject, you will copy the LocomotionController GameObject from the example scene (described above) into your scene, as it already has all the scripts neccessary to implement teleportation via the Oculus integration.
- Open up the “Locomotion” scene from the Oculus Sample Framework.
- Find the LocomotionController GameObject in the scene (it’s a child GameObject of the PlayerController) and make a prefab out of it by dragging it into the Project Window.
- Switch back to the main gameplay scene of your barrel bouncer project.
- Add an instance of the LocomotionController prefab into the root of your scene positioned at origin.
Setting Its Properties
Next, you will have to set multiple properties on various components of the Locomotion Controller GameObject, as listed below
- Locomotion Controller
- Camera Rig
- Set this as a reference to the OVRCameraRig GameObject’s OVR Camera Rig script.
- Character Controller
- Set this as a reference to the OVRCameraRig GameObject’s Capsule Collider component.
- Player Controller
- Set this as a reference to the OVRCameraRig GameObject’s Simple Capsule With Stick Movement script.
- Camera Rig
- Teleport Input Handler Touch
- Left Hand
- Set this as a reference to the LeftControllerAnchor’s Transform component. This reference will allow the teleportation system to raycast out from the position and direction of the left controller.
- Right Hand
- Set this as a reference to the RightControllerAnchor’s Transform component. This reference will allow the teleportation system to raycast out from the position and direction of the right controller.
- Aiming Controller
- Set this to “Touch”. This will allow you to use either of the right or the left controllers to point at the position you want to teleport onto.
- Left Hand
- Teleportation Orientation Handler Thumbstick
- Thumbstick
- Set this to “Touch”. This will allow you to use either of the right or the left controllers’ thumbsticks to set the orientation you will be facing once you teleport.
- Thumbstick
Defining an Where to Teleport
At this point you have set up all the functionality necessary for your player to teleport, but you haven’t defined anywhere where you can teleport onto. The Oculus Integration provides three different ways to define where you can teleport:
- You can use Unity’s Navigation System to generate a NavMesh, and then set the Locomotion Controller to only allow teleportation onto this NavMesh.
- You can place instances of the TeleportPoint prefab (which is provided by the Oculus Integration) into your scene and only allow teleportation between those nodes.
- You can set specific layers which you are allowed to teleport onto. In other words, you would be able to teleport onto all GameObjects that are part of that layer.
For this project, we will be using the last method. The Teleport Target Handler Physical script on the Locomotion Controller defines a property called Aim Collision Layer Mask which allows you to select all possible layers that you would like to enable teleportation onto. By default, this is set to the Ground Layer that the Oculus Integration defined. Go ahead and set any GameObjects representing your floor or ground to this layer.
Additionally, you may choose to be creative with where you are allowed to teleport onto. For example, you may decide that you want to be able to teleport on top of a roof or onto tree branches. Since these are not technically part of the ground, they should not be included on the Ground layer, but you can easily create a new Layer called “Teleportable” and set all other GameObjects you want to be able to teleport onto that layer. Just make sure to add that layer onto the Aim Collision Layer Mask.
Bonus Task (Optional)
- Use the NavMesh method for defining the teleportation area instead of the layer method. The NavMesh should be defined in such a way that only considers realistically walkable areas (e.g. you should not be able to teleport inside of obstacles, even if they are technically on the ground). You can learn more about Unity’s Navigation System here.