Project 3: Barrel Bouncer AR Edition
Part 4: Using Gestures to Set Up Barrels In Your Environment
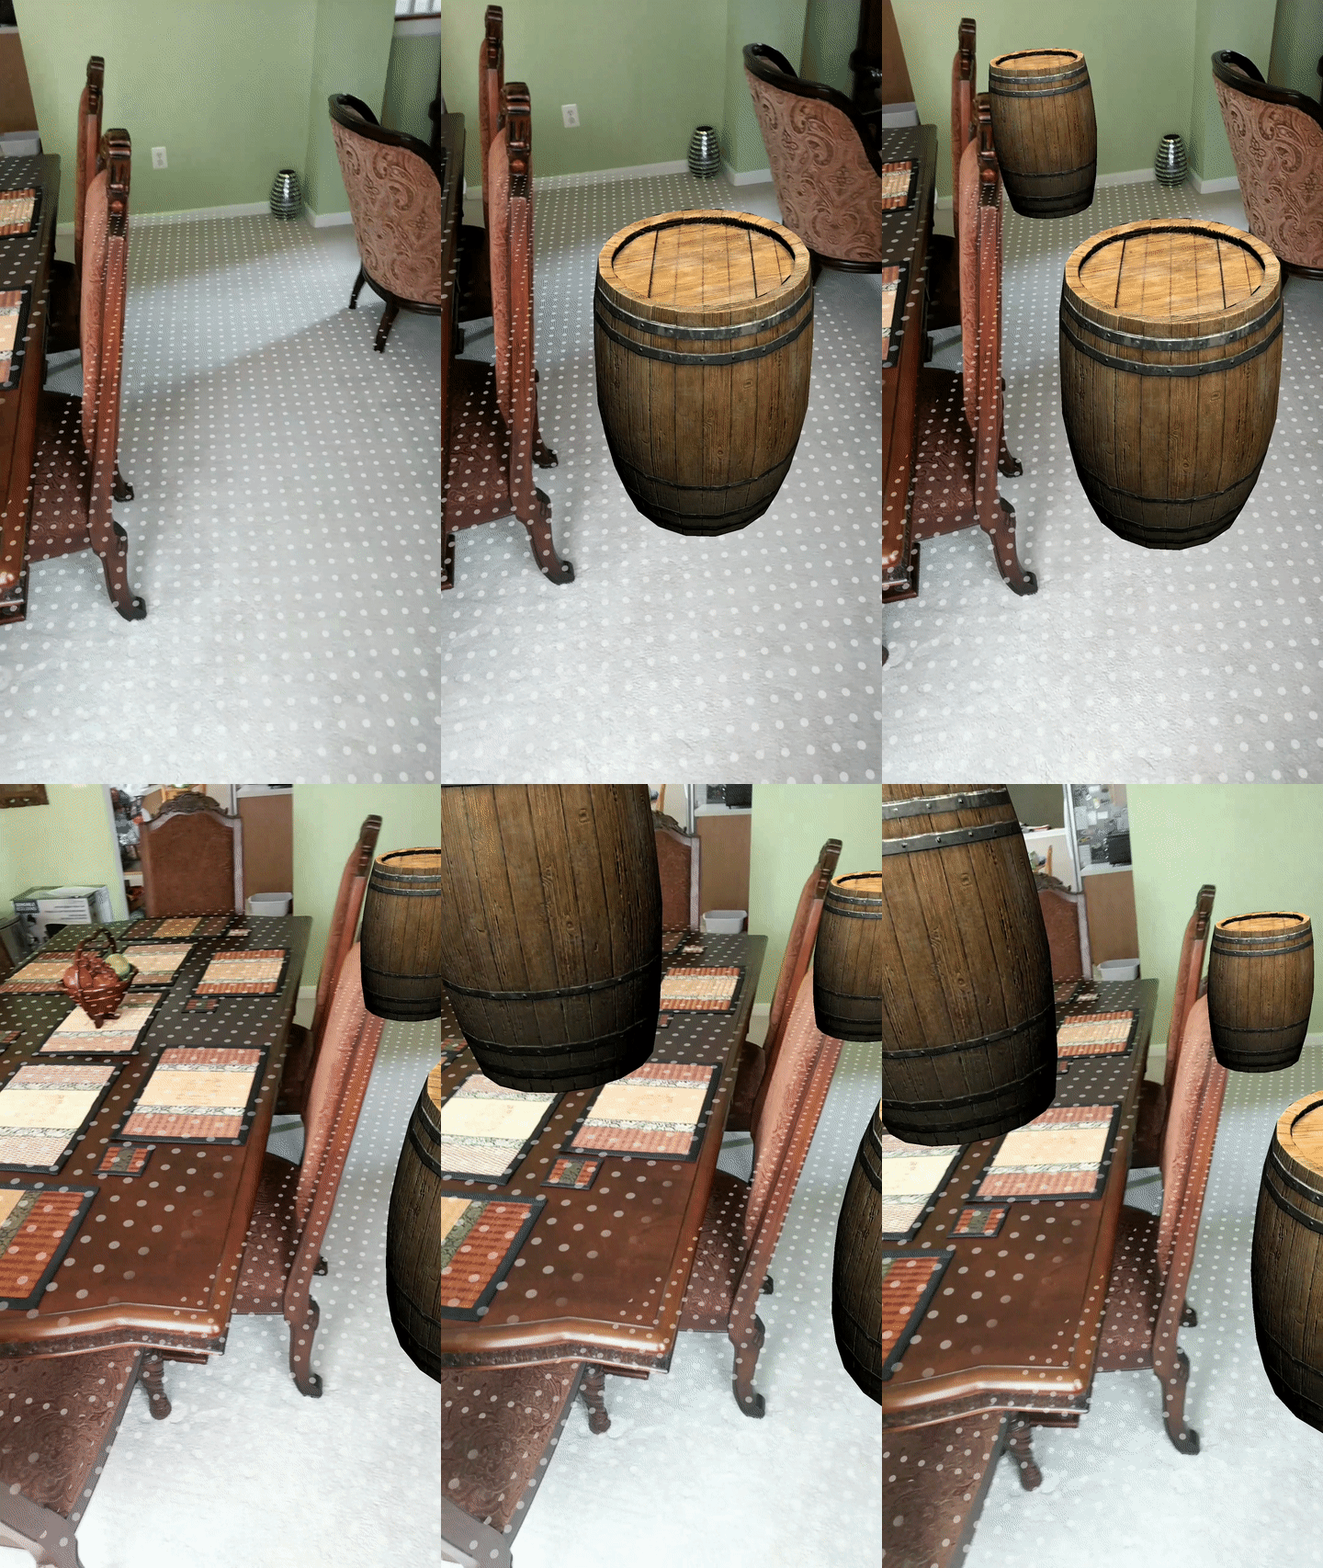
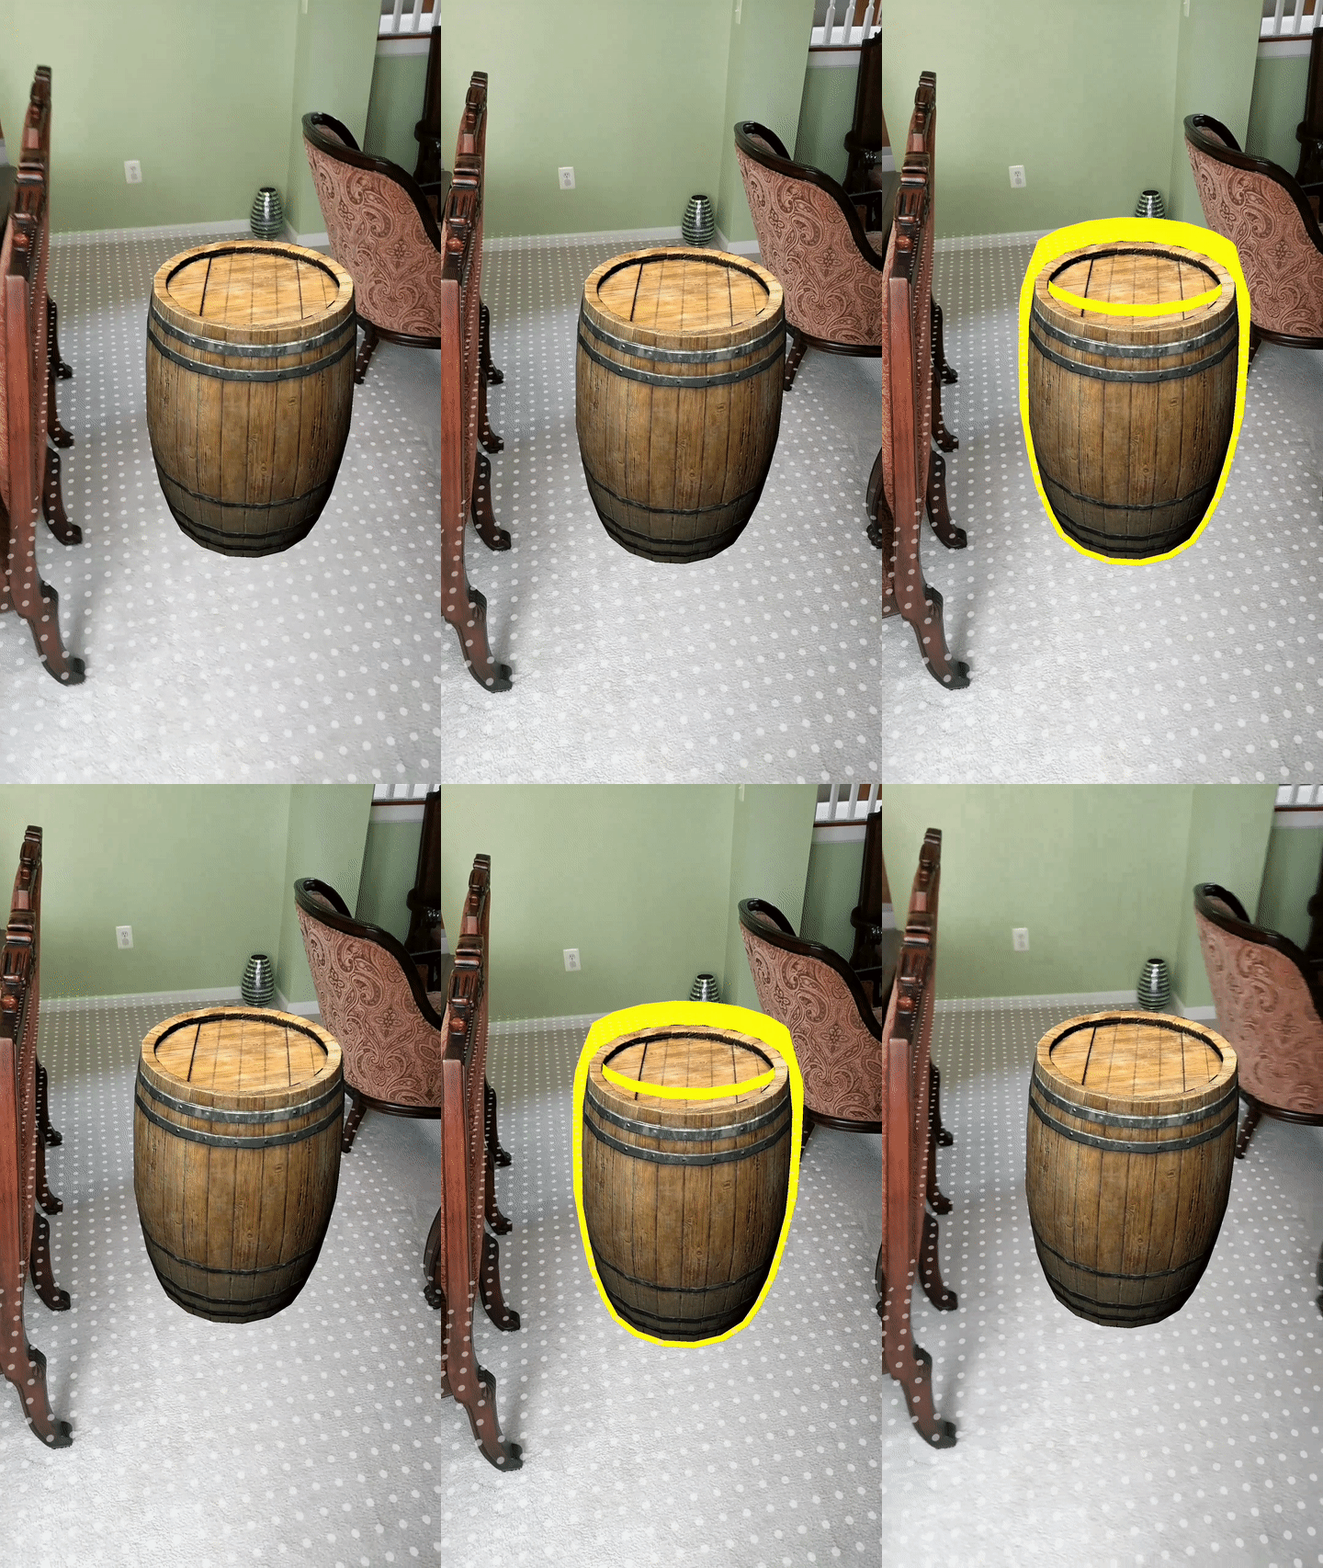
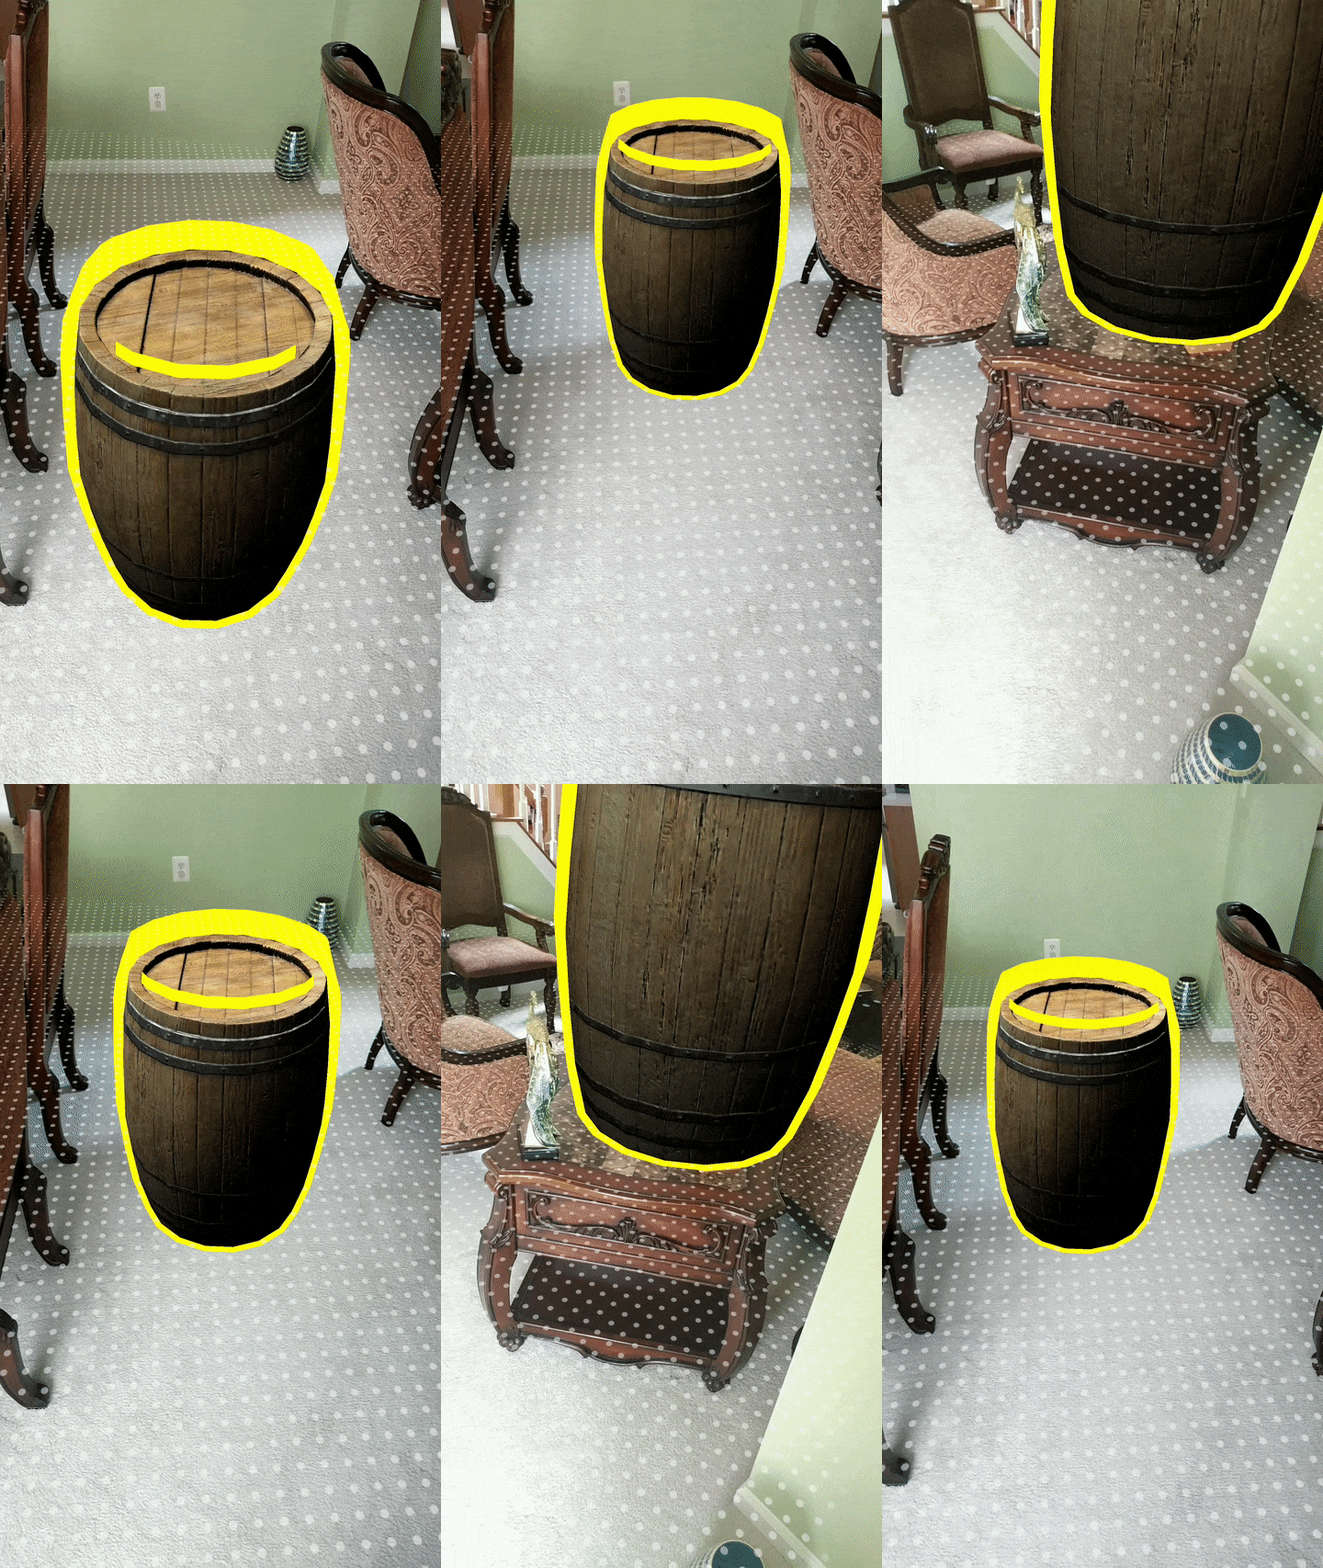
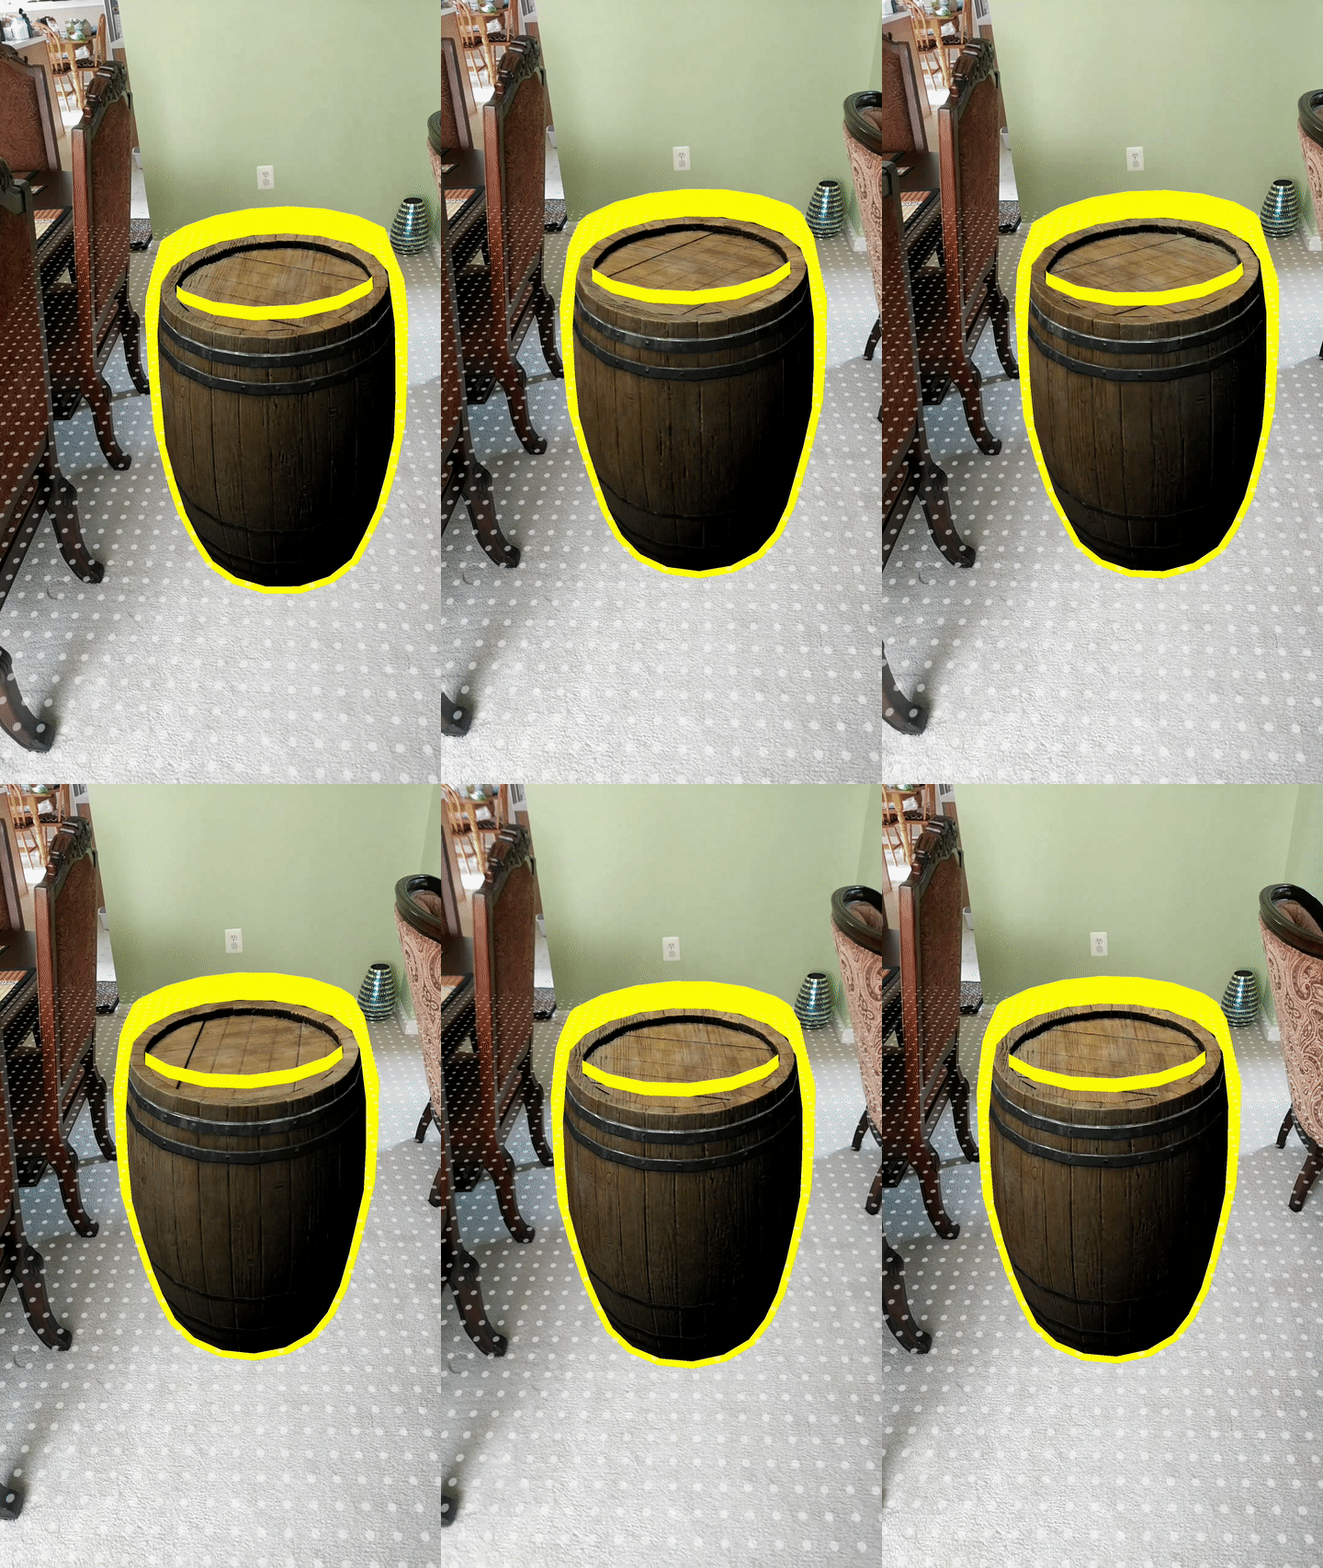
In the AR Best Design Practices Activity, you explored how the use of gestures like tap, drag, pinch, and twist were effective ways to handle the placement/selection, translation, scaling, and rotation of a virtual object in AR. Luckily, the XR Interaction Toolkit makes it easy to manipulate GameObjects in this way, as described here. In this section, you will use these interactions to set up the barrels in your environment, like shown in the images below.
| Placement | Selection | Translation | Rotation | Scale |
|---|---|---|---|---|
 |
 |
 |
 |
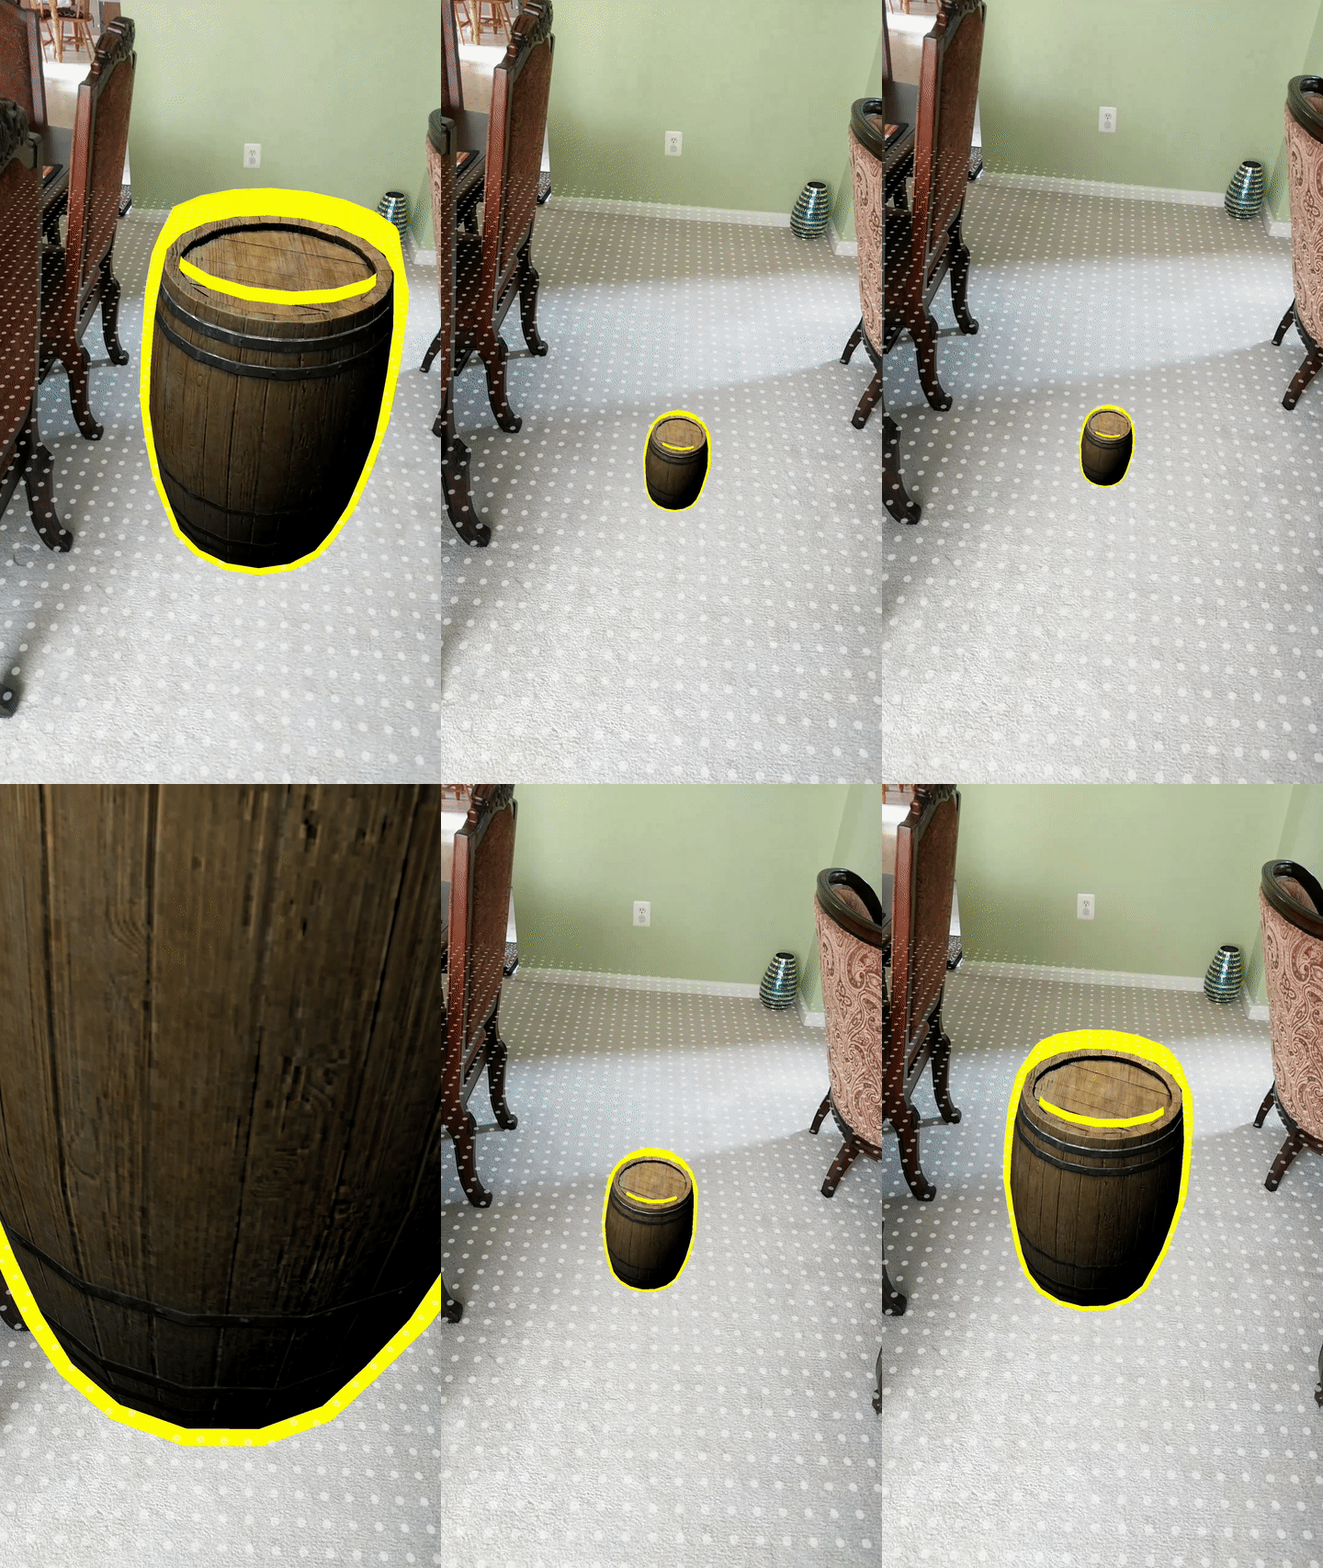 |
The Game Manager
Before getting started with implementing the gestures, create an empty GameObject called “Game Manager” and add a new script onto it. This is where you will be keep track of the number of barrels remaining in your scene as well as your score. Set up the fields for both.
Setting Up Your Scene for Gestures
First, you will need to add the AR Raycast Manager component to your AR Session Origin. This component allows you to raycast onto trackables (like planes and feature points) since they do not have a presence in the physics world. This will be important for when you’re placing objects onto a plane as well as translating it onto other points of a plane. While you aren’t actually writing out scripts to accomplish these tasks, the components you will make use of to do so use Raycasting in their implementations. To learn more about how to Raycast onto AR trackables, check out this piece of documentation.
Next, click on your AR Camera GameObject (which is a child of the AR Session Origin GameObject) and add the AR Gesture Interactor onto it. This component translates screen touches into the type of gesture used (i.e. tap, drag, two-finger, twist, etc.).
You may also notice that an Interaction Manager GameObject was automatically added into the scene for you since you didn’t already have one. It contains a single component called XR Interaction Manager, which serves as the bridge between Interactors (such as the one you just added), which define and recognize types of actions, and Interactables, which define how these actions affect a GameObject that the component is attached to.
Placement
On your menu bar, navigate to GameObject -> XR -> AR Placement Interactable. This will create a new GameObject with the AR Placement Interactable component added to it. It has a property called Placement Prefab and automatically takes care of instantiating a new instance of this prefab into your scene whenever you tap on a plane.
You could just drag in the reference to the barrel prefab you have already created. However, this approach may not give you the intended behavior of having the base of the barrel spawn onto the plane. This is because the Transform of your barrel prefab is most likely defined from the center of the barrel, which would cause half of the barrel to appear under the floor/table it is instantiated onto. To get around this, complete the following steps:
- Create a new empty GameObject called “AR Placement Object”.
- Make a prefab out of this GameObject by dragging it into the project window. Then delete any instances of this prefab from the scene.
- Drag the prefab into the Placement Prefab property of the AR Placement Interactable to provide a reference to it.
- Double click on the prefab to open it up in the prefab editor.
- Create a new instance of your barrel as a child GameObject of the AR Placement Object and then modify its position until the center of its base is at origin (position <0, 0, 0>).
At this point, you should be able to create a build of the app and place barrels into your world. It is recommended to test this out now to see if the barrels look okay or if the initial size and position needs to be adjusted for a more realistic effect.
When a barrel has been placed onto a plane, you also want to increment the number of barrels remaining in your scene. Luckily, the AR Placement Interactable script defines an On Object Placed UnityEvent. On your Game Manager’s script, create a public method to increment the barrel count and then hook it up to this event in the Inspector.
Finally, you should remove the Rigidbody component from the barrel. For simplicity of this project, we are not going to use physics on the barrel, since there are a few additional items you would need to adjust in order to get it working correctly. Some of these items are included in the bonus task at the bottom of this page.
Selection
All you need to do to enable this functionality is attach the AR Selection Interactable component to your AR Placement Object prefab. However, while this will allow you to select your barrels, nothing else happens so you have no way of knowing if a barrel has been successfully selected. To fix this, you should add a visualization to show the current selected state of a barrel. In our unitypackage, we have included a glowing material that you can use to highlight the selected barrel.
In order to create this visualization, follow these steps:
- Open up your AR Placement Object prefab in the prefab editor.
- Duplicate your barrel GameObject and set its name to “Selected Barrel”.
- Remove any scripts and colliders from the Selected Barrel and its children. These GameObjects should only contribute to the graphical rendering.
- Find the Materials array on the Mesh Renderer component of the Selected Barrel. Increase the size of this array by 1 and add the GlowMaterial to its last element. Repeat this for any of its children, if applicable.
- Make the Selected Barrel GameObject inactive, so this visualization doesn’t appear by default.
- Find the Selection Visualization property of the AR Selection Interactable component of the AR Placement Object and drag in a reference of the Selected Barrel into that slot. This script will take care of toggling the visibility of this visualization when the barrel is selected and unselected.
Translation
To enable this functionality, simply attach the AR Translation Interactable component to your AR Placement Object prefab. This component also allows you to specify the max distance you can translate the object as well as the type of planes (i.e horizontal, vertical, any) you want to be able to translate onto.
Rotation
To enable this functionality, simply attach the AR Rotation Interactable component to your AR Placement Object prefab.
Scaling
To enable this functionality, simply attach the AR Scale Interactable component to your AR Placement Object prefab. This component also allows you to specify the minimum and maximum acceptable scale of your GameObject.
Bonus Task (Optional)
- Enable more robust interaction cues for this section, as you saw in the AR Best Design Practices Activity. Specifically, this means:
- Re-adding physics to the barrel (but not the child selection barrel).
- Changing the position of the barrel on the AR Placement Object prefab to be slightly above the ground, so that it falls down onto the ground on instantiation (like you did in project 1).
- Using a reticle for interactions. This does not necessarily need to be a UI but could be a thin 3D GameObject of that shape as well.
- Raising the barrel slightly into the air while translating it (so that it’s hovering above your touch point and so you can see the reticle), and allowing it to fall back to the ground/table via gravity when you’re done.
- Since physics is turned on, this means that the barrel could lose balance and fall (or roll) off the edge of the plane. You should destroy the barrel and decrement the count if it is free-falling infinitely. There are many ways you could determine this, such as with its velocity or position.
- Making sure that rotations only occur from the standpoint of the barrel, even if its local position has moved relative to the AR Placement Object. Otherwise, the barrel may just translate around in a circle centered at the AR Placement Prefab as you try to rotate it.
- Enabling relevant sound effects for each interaction.
- Using the UnityEvents on each of the AR Interactables to accomplish the tasks relevant to each type of gesture.